This Valheim dedicated server hosting walkthrough will explain how to turn your current world into a dedicated server, how to port-forward and allow ports through your firewall, how to make yourself admin, and how your friends can join your game once it’s set up. On this page:
How to set up a Valheim dedicated server How to turn your current world into a dedicated server Valheim Port-Forwarding and IP Address explained “I can’t run the Dedicated Server tool!” How to join a Valheim dedicated server How to make yourself admin on your dedicated server Why set up a Valheim dedicated server? How to play Valheim multiplayer without a dedicated server
How to set up a Valheim dedicated server
To set up a Valheim dedicated server, here’s what you need to do: Download and install the Valheim Dedicated Server tool on Steam (you’ll have it if you have Valheim). Right-click the tool in your Steam library and go to “Manage -> Browse Local Files”. In the window that appears, find the file named “start_headless_server”, make a backup of it, and then open it up. Find the line that starts with “valheim_server” and change the following parts (each inside the quotes): Now save and exit the file.
How to turn your current world into a dedicated server
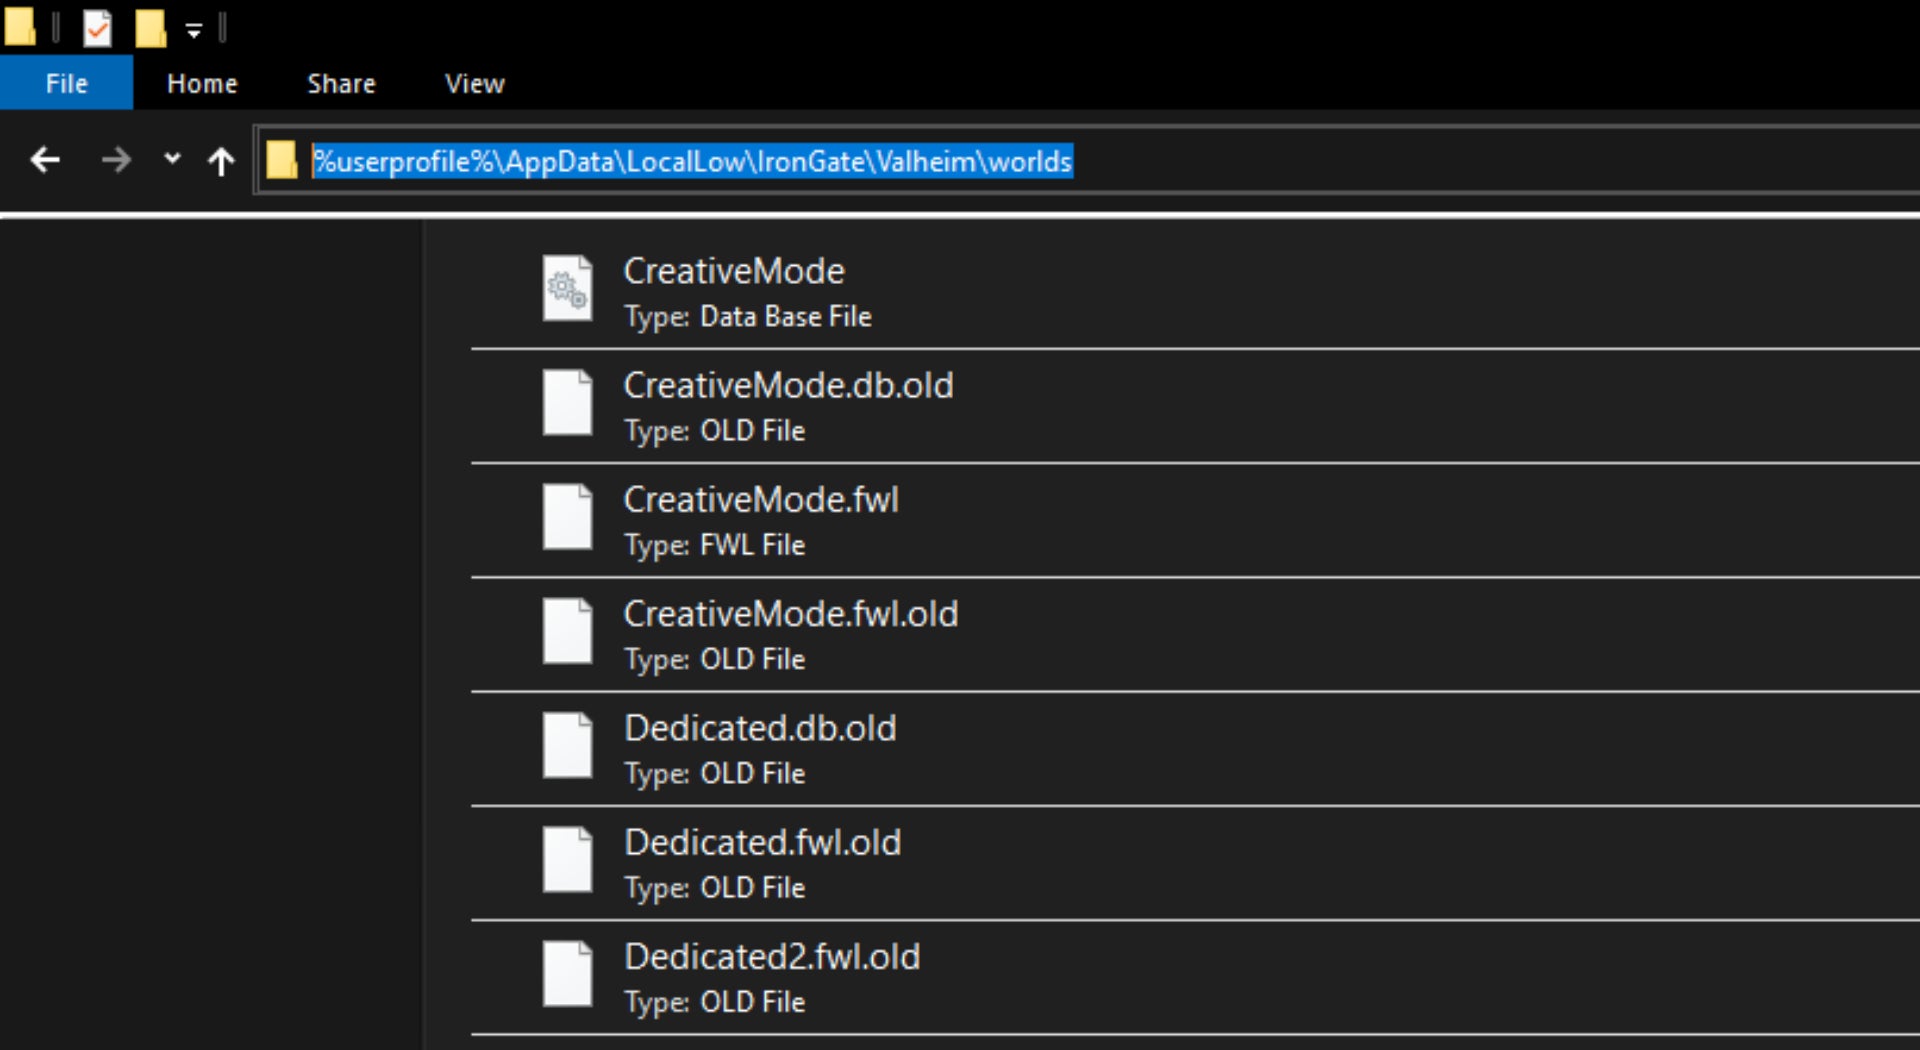
To turn your current Valheim world into a dedicated server, there are a couple of extra steps to take at the beginning of the setup process. Open up Windows Explorer and type “%userprofile%\appdata\locallow\irongate\valheim” (without the quotes) into the search box. In the worlds folder you’ll see several files for each of your worlds. Make a note of the exact name of the world you wish to use for your dedicated server, because you’ll need to input that name exactly next to the “-world” tag in the above section. If you’re going to run the server on a different machine, then you need to copy all of the files related to your desired world, and paste it into the same worlds folder on that machine.
Valheim Port-Forwarding and IP Address explained
In order for players who aren’t in your own house to start playing on your dedicated server, you need to do two more things: Here’s how to set up Port Forwarding:
Find out your default gateway IP Address. If you don’t know it, hit Start+R, type “cmd” and hit Enter. Then in the window that appears, type in “ipconfig” and hit Enter. Next to “Default Gateway” is the IP Address you need. For most people it is “192.168.0.1” or “192.168.1.1”. Open up a browser window and type in this IP address, then hit Enter to bring up your router tool. Login to your router and then set up Port Forwarding for the ports 2456-2458, for both TCP and UDP. The process depends on your router so be sure to search online for how to port-forward on your specific network and router type.
Here’s how to let those ports through your Firewall:
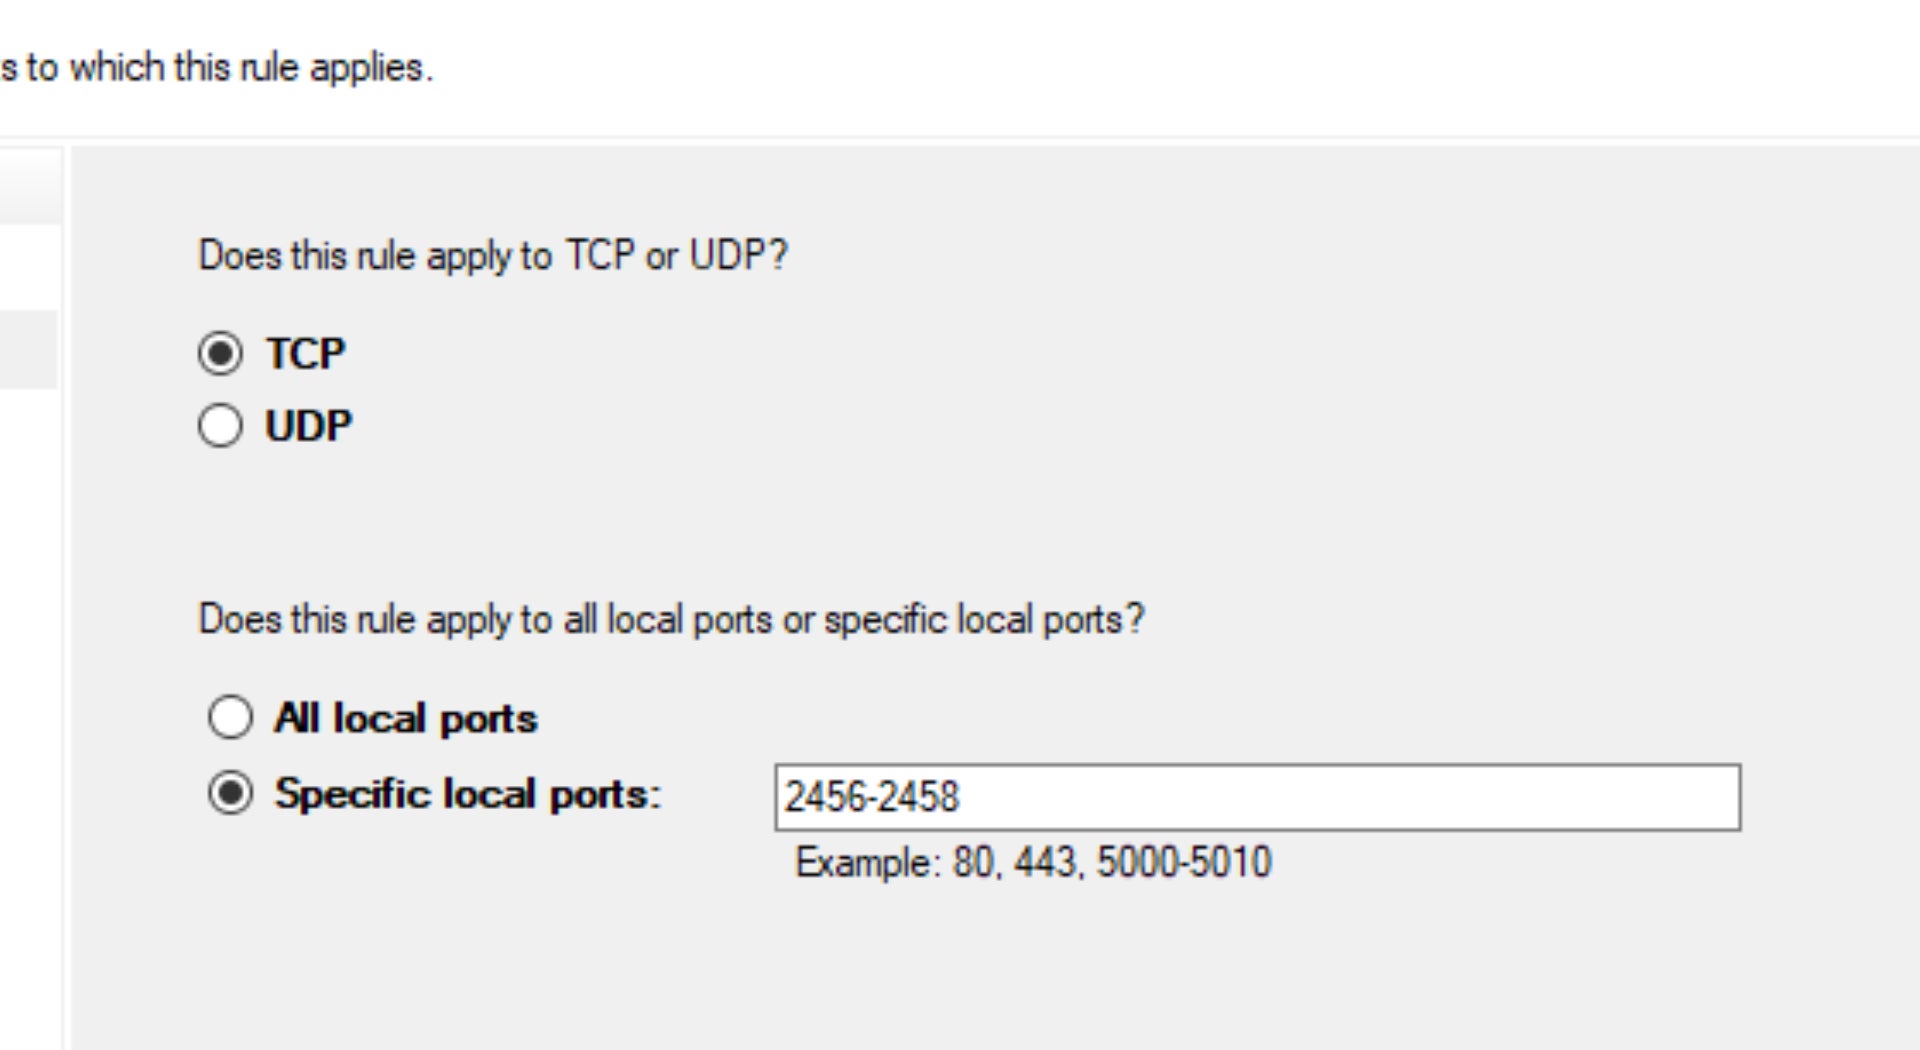
Hit Start+R and type in “wf.msc”, then hit Enter to bring up your Firewall Advanced Settings. Click on “Inbound Rules”, then right-click it and select “New Rule”. Select “Port”, then “TCP”, and type in the specific local ports “2456-2458”. Select “Allow the Connection”, keep all the boxes on the next screen ticked, and give the rule a name and click Finish. Repeat the process to set up another rule for the same ports, but this time using “UDP” instead of “TCP”.
Now you can run the Valheim Dedicated Server tool. Wait until a message appears in the console that says “Game Server Connected”. You and your friends can now join the server.
“I can’t run the Dedicated Server tool!”
If you’re running the server on a different machine than you’re playing the game on, then don’t run the tool through Steam itself. Just find that “start_headless_server” file again and double-click it to run the server. This way you won’t run into issues with Steam thinking you’re running two games at once on the same account. I’d suggest creating a shortcut for that file on your desktop for easy access.
How to join a Valheim dedicated server
To join a Valheim dedicated server, select the character you wish to use, and then under the “Join Game” tab, select “Join IP”, and then type in the IP Address and the Port, separated by a colon. For example: “192.168.0.99:2456”. Be aware: if you’re on the same network (i.e. in the same house) as the server, you need to use the exact internal IP Address of that machine; and if you’re remote, then you’ll need to use the external IP Address. To find out your internal IP Address, follow the steps above for finding out your default gateway address, but this time use the IP Address next to “IPv4 Address”. To find out your external IP Address, just go to What Is My IP Address and use the address it prints for you.
How to make yourself admin on your dedicated server
You won’t be able to use Valheim console commands and cheats on a dedicated server until you make yourself admin. To make yourself (or another player) admin, here’s what to do: While logged into the server, hit F2 and make a note of your player ID number. It’s a long number next to your player name. Then quit the game and stop the server. Open up Windows Explorer and type “%userprofile%\appdata\locallow\irongate\valheim” (without the quotes) into the search box. Then edit the “adminlist” text file and paste in your player ID number onto a new line. Then save and quit. Now start the server back up and login. You should now be able to use console commands like “save” to force-save your game, and so on.
Why set up a Valheim dedicated server?
There are a few reasons why you may want to set up a Valheim dedicated server. The main attraction is that if you’re running a dedicated server, you won’t have to invite your friends every time you set it up, and your friends can join the game and play even while you yourself are not playing Valheim. You can also keep the server running for as long as the machine you’re running it on stays active. Time is paused when no players are on the server, so you needn’t worry about time passing and your builds getting destroyed while no one is online. Another big benefit of setting up a dedicated server for Valheim is that you can host the server on one machine and play on another machine, rather than having one machine do all the work (though you can also run the dedicated server and play on the same machine if you wish).
How to play Valheim multiplayer without a dedicated server
If you don’t want or need to bother with setting up a dedicated server and you just want to play a casual Valheim game with your Steam friends, that’s very easy to do: Select your character in-game, and then select the world you wish to open up to multiplayer. Select “Start Server” to make it a multiplayer game. You can either just start now and then invite your friends through the Steam overlay (right-click their name and select “Invite to Lobby”, or you can make the world a community server. To make the world a community server, you’ll need to tick both “Start Server” and “Community Server”, and then add a password so that only your friends can join. Once the server is up your friends should be able to find your server under the “Join Game” tab by filtering to show friends only. And that’s everything there is to know about setting up a Valheim dedicated server in a single page. We hope you found everything you needed here. Now why not take a look at our look at whether you should be running Valheim using Vulkan for extra performance benefits?